

A fresh coat of paint could be the difference between a home looking like a haunted house or the neighborhood model—boosting curb appeal and even functionality. It’s a great way to add significant value to your home, and it’s also one of the most affordable strategies! Since many homeowners take the reins in residential painting jobs, we thought we’d give you a few pointers if you’re a DIY-minded individual. Ready to turn a decent job into a professional-grade endeavor?
Choose the Right Paint Finish
As with any and all home improvement supplies, not every paint finish is of great quality. In fact, some of them should be avoided entirely. And beyond that, there are different types for different purposes. Choosing the right one will help your paint job be the best it can be. Let’s take a look at the variety:
- Flat or Matte: This option hides imperfections quite well. However, it can be tougher to clean than most. Because of this, it’s perfect for ceilings and low-traffic areas.
- Eggshell: This variety offers a soft sheen, and its durability makes it a great choice for bedrooms and dining areas.
- Satin: This is right at home in living rooms and hallways thanks to its smooth finish and ability to be cleaned easily.
- Semi-Gloss: Moisture and stain resistance are the name of the game here, meaning this is the perfect choice for kitchens, bathrooms, and various trim work.
- Gloss: This option is quite durable and gives surfaces a noticeable shine. It’s best used in accents and cabinetry.
When you successfully match the finish to the space, it can enhance it both visually and functionally, providing welcome longevity and beauty.
Prep Like a Pro
We know you can’t wait to get to the good stuff. You want that fresh, beautiful coat of paint to be up on the walls so you can enjoy the upgrade. But trust us; it’s worth it to take the extra time to do proper prep work. So before you even dip your brush into the primer (more on that in a bit), be sure to:
- Clean every surface and remove grime, grease, and dust.
- Sand any spots that are showing signs of roughness or peeling paint.
- Achieve an even surface by patching all holes and cracks.
- Tape off trim, outlets, and other edges to avoid getting paint on things that don’t need it.
When you take the time to prepare, the paint will adhere the way it was intended and the look of the project will be akin to a professional’s.
Invest in Quality Supplies
You don’t need a boatload of tools; you just need the right tools. Cheap rollers and brushes often leave noticeable streaks and shed bristles, making your residential painting job much harder and less attractive than desired. When you’re shopping for the right supplies, look for angled brushes that have clean edges. As for the paint rollers, set your sights on lint-free options.
And then, of course, there’s the paint. Premium, quality paint often provides you with better coverage, richer colors, and better longevity than many of the lower-quality counterparts. The extra money you pay for “the good stuff” will easily be made up for in the reduced need for several layers as well as the low maintenance requirements.
Don’t Skip the Primer
Adding primer to the surface you’ll be painting is often seen as an extra, unnecessary step to interior house painting among DIY-ers. In reality, though, it’s the key to a flawless finish, and is particularly important if you’re:
- Covering up dark or stained surfaces.
- Using a color that’s drastically different from the original—like covering off white with a forest green.
- Painting bare drywall or any other surface that hasn’t been painted previously.
Use the Same Techniques as the Pros
Technique matters just as much as tools! Just as you can spot a messy lawnmowing job with ease, uneven brush strokes and streaks become apparent on a painted surface. Here are a few tricks to keep in mind during interior house painting:
- With your roller, move it in a “W” or “M” motion to achieve even distribution.
- Paint the “tougher” spots—edges and corners—before using a roller on the larger areas.
- Keep a “wet edge” to avoid lines and lap marks.
- Work in natural daylight whenever possible. This will make it easy to spot drips, missed spots, or other inconsistencies.
Bonus Tip: Know When to Call Professional Painters
Believe it or not, we have nothing against DIY jobs. However, there are some residential painting projects that should be left to the professionals. If you’re faced with a paint job that involves a tall ceiling or complex trims, for example, it’s not advisable to tackle it yourself. Additionally, exterior painting tasks or projects with short timelines are better left to the pros.
Why, though? Because professional painters have plenty of experience under their belts. They bring years of experience, quality equipment, and all-around expert skill to each and every job they’re hired for. With a pro holding the brush, you’ll enjoy faster project completion, guaranteed clean results, and work warranties.
Residential Painting at Its Finest
Painting your home is a great way to give it an upgrade—from both an aesthetic and financial standpoint. It can really bring out the potential in a space, and the wonders it can work for a home’s value can’t be overstated. If you’re ready to work with professional painters who will get the job done while keeping you updated throughout the process, get in touch with Albaugh & Sons. We’re happy to take on your residential painting project!

Albaugh Insights
Stay in the know! Check out all the latest news, tips, and guides with our blog.

5 Common Spring Deck Issues and How Professional Deck Repair Services Can Help
Winter is hard on everything, but especially on those things that don’t have the ability to seek shelter when the worst of it rolls through. Perhaps your garden. Maybe your car. Definitely your deck. After months of freezing temperatures, ice,...
Read More
Composite Deck Installation in Frederick, MD: What Homeowners Should Expect
We’ve come a long way, baby. Decks used to be built of wood, period. Wood is fantastic. It’s a classic material, of course, though it does have its drawbacks: number one of which is the large amount of upkeep it...
Read More
Why Hiring a Local Deck Contractor, or a Local Fence Contractor, Still Matters
Even in our über-connected world, which makes us all consumers in the global marketplace, there’s still a lot to be said for buying local. Sure, that wheel of Yorkshire cheddar, shipped all the way from the U.K., is probably really...
Read More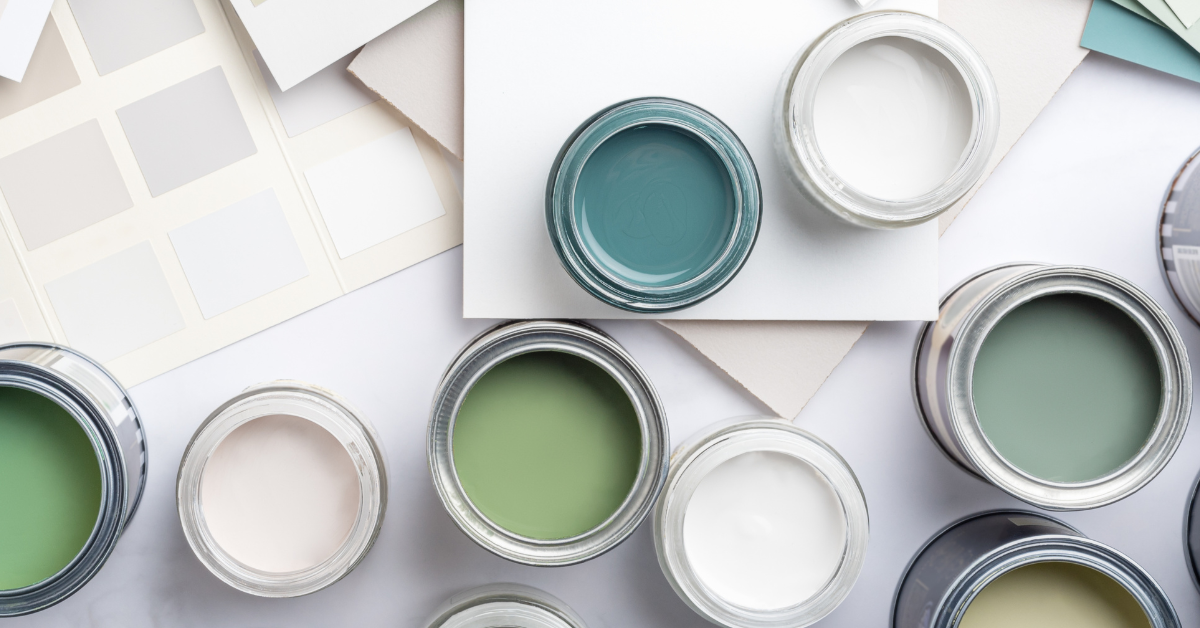
2026 Interior Home Painting Trends You’ll Love
After millennia of human beings experimenting with color, particularly how it can be applied to everything from clothing to walls and even to themselves, one might assume there’s nothing under the sun left to discover as far as color goes;...
Read More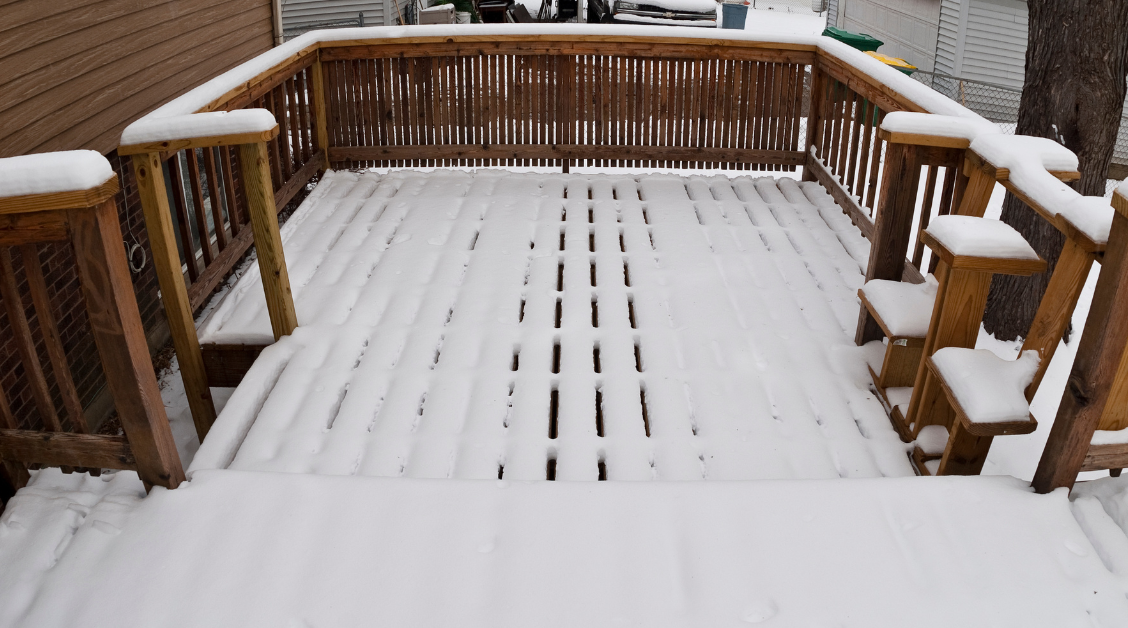
Fence & Deck Maintenance Guide to Help You Prepare for Winter
When the cold weather looms on the horizon, we can simply walk inside and set the thermostat to a comfortable temperature. Our decks and fences can’t, though. They may be designed to withstand a certain degree of weather-related assaults, but...
Read More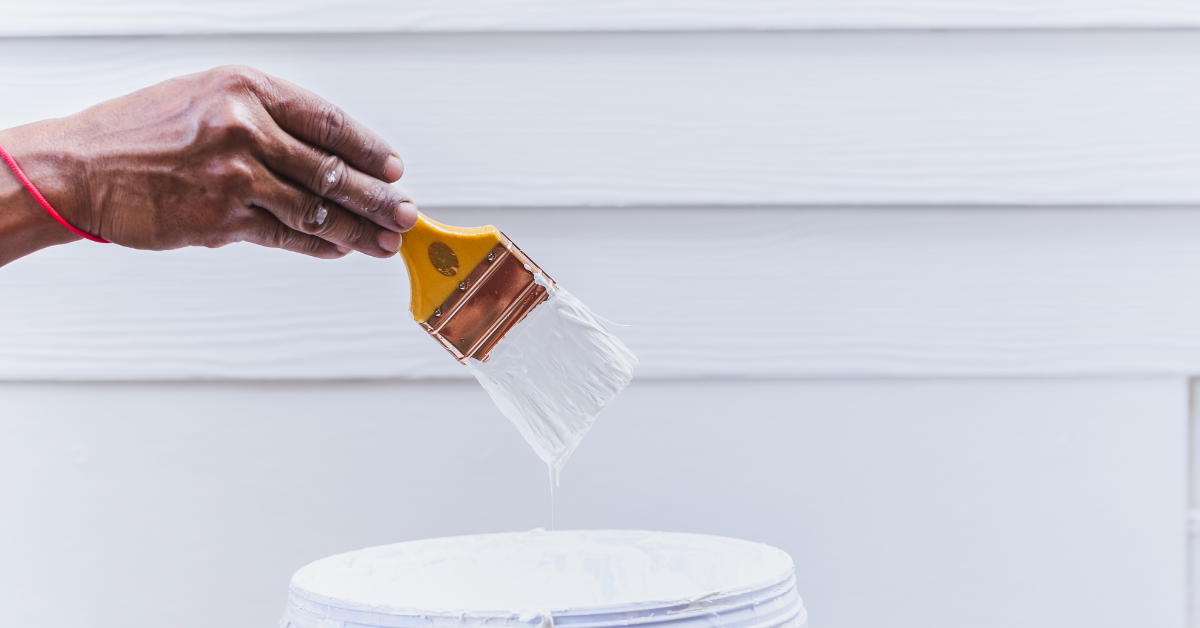
Fall Home Maintenance: Why Exterior Painting Services Are a Smart Pre-Winter Move
What if we told you that painting your house this fall is a smart choice… from a maintenance perspective? Sure, that fresh coat will make your house look great! But there’s more to it than that. Just as stain protects...
Read More
What to Consider Before Getting a Wood Fence Installation
Don’t have enough privacy in your backyard? Does the dog keep trying to run away? Whatever the reason, a wood fence installation is a great solution to your predicament. In addition to giving you the privacy and security you’re looking...
Read More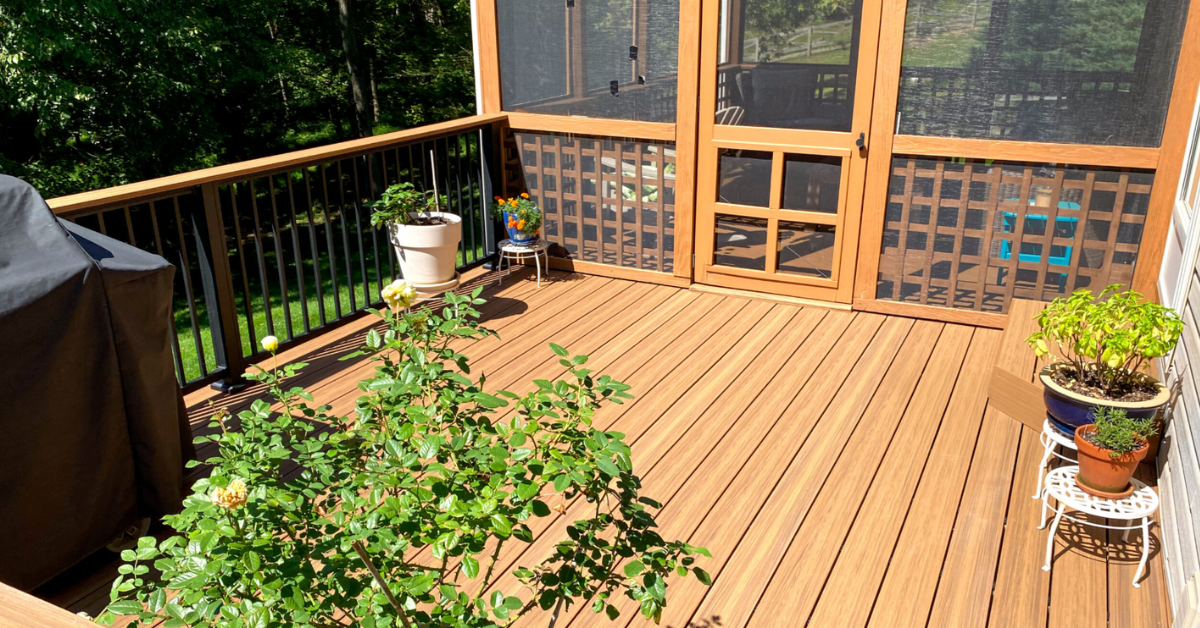
Crucial Tips for Staining a Deck
Think of a knight from your favorite fantasy movie or show. One of their defining aspects is their armor. Not only does it protect them from harm, but it looks cool as heck. In a way, the same line of...
Read More
Making Sure Squirrels Don’t Chew On Your Wooden Deck
This post was updated on August 14, 2025, to give you the most current information. Squirrels are common to see in many people’s yards, and these little guys can be pretty active. Sometimes, they can cause problems, though, and one...
Read More
Painting In the Rain: Why It Should Be Avoided
This post was updated on August 1, 2025, to give you the most current information. If you’re going to get exterior painting done for your house, you’ll have to take the weather into account. How your paint job will look...
Read More
Fixing Marks Made By Paint Rollers, and How You Can Prevent These Marks From Forming
This post was updated on July 25, 2025 to give you the most current information. For anyone doing a painting project, there are many tools that can be used to help with the job. However, even though there are tools...
Read More
7 Signs It’s Time for Bathroom Remodeling Services
We spend a lot of time in the bathroom. We use it to brush our teeth, wash our face, take a shower, and … other stuff. The point is, since we spend so much time there, the space should be...
Read More
How to Prepare Your Home for Exterior Painting Services
Get your house ready before your exterior painting contractor arrives! Ah, a fresh coat of paint. It can breathe new life into your home’s exterior. Everything will look more vibrant and welcoming when all is said and done—assuming you go...
Read More
Aluminum Fence Maintenance Tips for Homeowners
So the time has come to get a fence! First of all, congratulations. In our opinion, a fence can work wonders for your home and property overall. It’s great for safety, security, aesthetics, property line demarcation, and increased home value....
Read More
5 Expert Residential Painting Tips for Homeowners
A fresh coat of paint could be the difference between a home looking like a haunted house or the neighborhood model—boosting curb appeal and even functionality. It’s a great way to add significant value to your home, and it’s also...
Read More
How to Find the Right Contractor for Your Spring Deck Installation
Spring is beginning to peek out from behind the cold curtain of winter, and it's eager to bring its warmer weather with it! As we all wander out of our homes without the need to put multiple layers of clothing...
Read More
Choosing the Right Fencing Materials for Your Maryland Home
Having your own slice of heaven is good, but having one with its own fence is great. A fence can serve several purposes—enhancing security, boosting property value, providing privacy, or simply bringing your property aesthetic together—but there’s more to keep...
Read More
5 Benefits of Installing a Privacy Fence
For being a stationary structure, a privacy fence sure does provide some great benefits to the home it belongs to. Sure, it can keep the dog from running away and mark your property lines, but the perks go deeper than...
Read MoreCustomer Testimonials
We could talk all day about the happy homeowners we’ve provided renovations for, but the real measure of merit lies in customer reviews. See what people are saying about Albaugh & Sons.


